
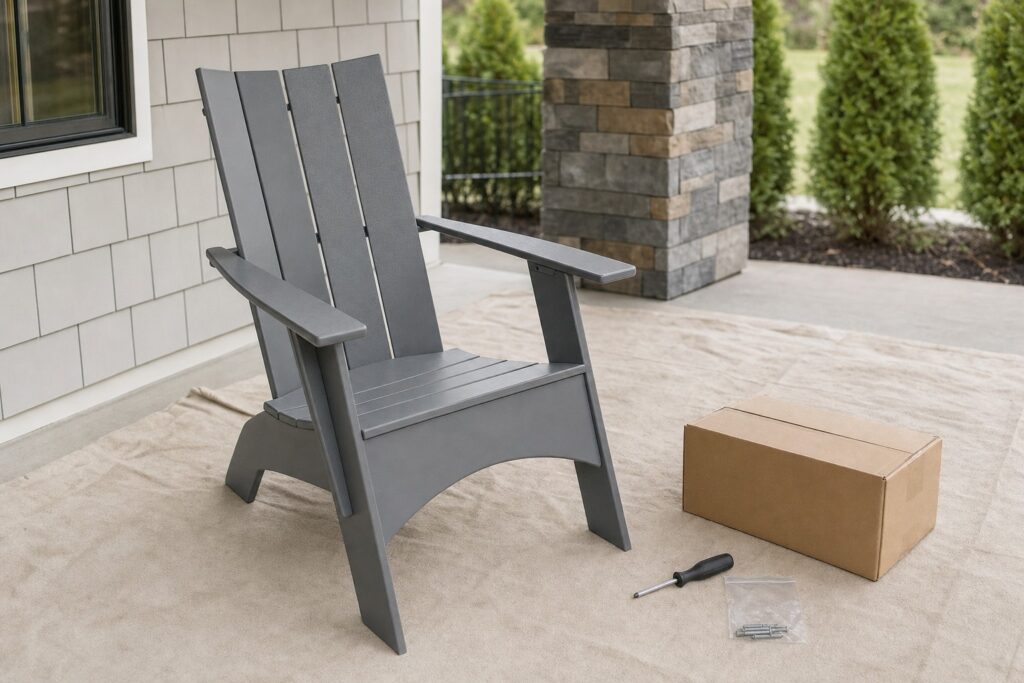
Outdoor furniture assembly sounds like a Saturday afternoon chore that turns into a Sunday problem — misplaced hardware, cross-threaded bolts, and a chair that rocks on a patio that swears it’s flat. This article will help you sidestep those frustrations with a clear, ordered setup plan covering workspace prep, parts verification, hardware sequencing, alignment, final inspection, and post-assembly cleanup. The guidance applies to all five knock-down products in the Plastic Furniture To Go catalog: the Hampton Adirondack Chair, the Armless Cafe Chair, the Counter Height Stool, and both Hampton End Tables. Follow these steps once and you’ll have the rhythm memorized for every future piece.
Set Up a Workspace Before You Open the Box
The most overlooked step in any assembly project is where you do it. A clean, level surface gives you two practical advantages: small hardware won’t roll into grass or deck gaps, and you can see whether a partially built piece is sitting true before you commit the final fasteners.
A concrete driveway, a garage floor, or a large patio section all work well. If you’re working outside, choose a dry day — not because Marine Grade Polymer is harmed by light moisture, but because wet concrete makes dropped screws nearly invisible. Lay down a moving blanket, a flattened cardboard sheet, or any soft surface you have available. This protects finished panel faces while you work and gives you a defined “parts zone” so nothing wanders.
Gather your tools before you break the box seal. For Plastic Furniture To Go products, the included stainless steel hardware is 3/16-inch, and the assembly is designed to be completed with basic hand tools in roughly 20 minutes per piece. A handheld screwdriver or a cordless drill with a low-torque clutch setting is all most people need. Avoid impact drivers at full torque — they can overdrive fasteners into polymer panels faster than you expect.
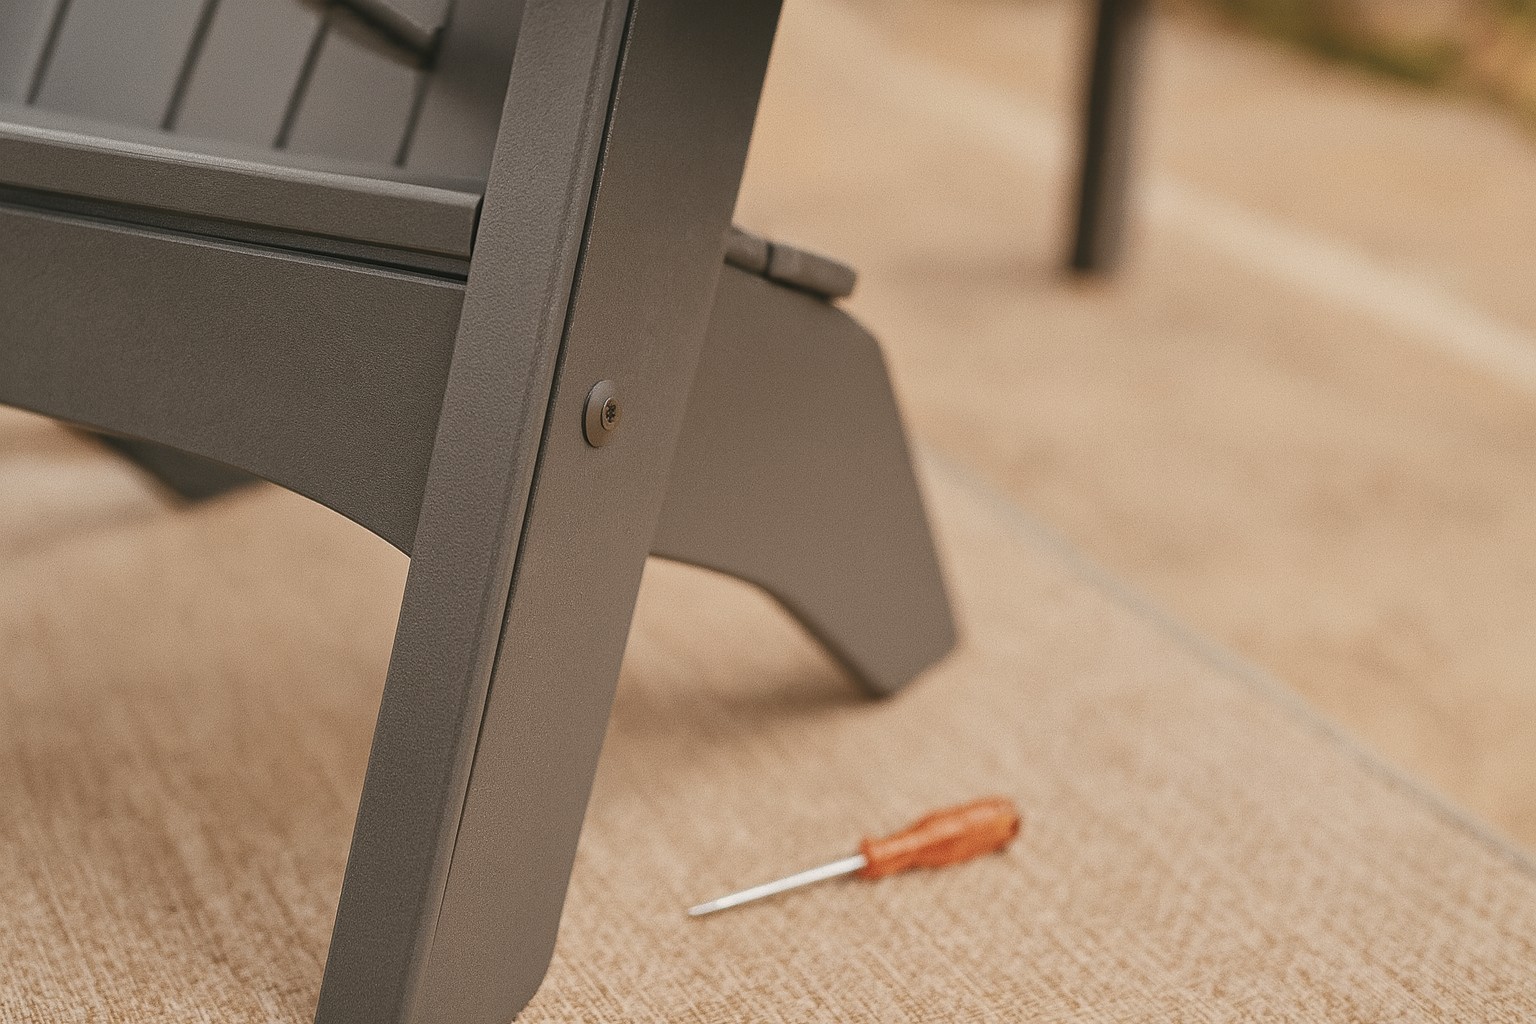
Verify Every Part and Piece of Hardware Before Assembly Begins
Open the box fully and lay every component flat on your workspace surface. Do not begin connecting any parts until you’ve matched the physical contents to the included instruction sheet. Most assembly headaches trace back to a single skipped step here: a brace slipped behind another panel, or a bag of hardware still taped to the inside of the box flap.
Check the instruction sheet’s parts list line by line. For an Adirondack chair, this typically means confirming seat slats, back slats, arm rests, front legs, and rear leg assemblies are all present and undamaged. For an end table, confirm the top, the apron sections, and the legs. The Counter Height Stool has fewer components by design — it’s a backless, stationary piece — so its parts count is lower, but still confirm each one before you proceed.
Inspect every panel edge and face for shipping damage. This is the right moment to catch anything that happened in transit, not after the piece is fully built. For a thorough guide on what to look for, review the post on how to inspect your patio furniture after delivery — it covers surface marks, joint integrity, and how to document any issues before you touch a fastener.
Separate your hardware into labeled groups by type. Plastic bags or even painter’s-tape labels on a piece of cardboard work fine. Knowing which fastener goes where before you start prevents the all-too-common mid-assembly rummage through a pile of mixed screws.
Follow the Hardware Sequence on the Assembly Sheet
A knock-down furniture assembly sheet follows a deliberate sequence because access angles disappear once adjacent parts are in place. If you skip ahead and connect a top rail before the lower cross-members, you may not physically be able to reach the fastener positions you need later without partially disassembling what you’ve already done.
The standard discipline is to start from the bottom or the structural core and work outward. For a chair, that typically means the leg subassembly first, then the seat support, then the back, then the arms — though always follow the specific sheet included with your product over any general convention. For tables, the apron-and-leg subassembly before the top attachment is common logic.
Hand-tighten all fasteners in a section before fully torquing any of them. This is the same principle used in automotive and woodworking assembly: get everything roughly in position first, then go back and snug each bolt in sequence. It distributes load evenly and lets you make minor positional adjustments before anything is locked down. Once you’ve confirmed the piece looks right, do a final tightening pass — firm but not forced. Stainless steel hardware threads into polymer cleanly, but polymer does not forgive stripped fasteners the way metal might.
Check Alignment and Stability Before You Call It Done
Stand the completed piece on a flat surface and look at it from every angle. A slight twist in a chair frame often becomes obvious from a low, oblique viewpoint that a straight-on look misses. Press lightly on the seat corners and rock the piece gently — you’re feeling for any flex or wobble that suggests a joint isn’t fully seated.
If the piece rocks on a truly flat floor, it’s almost always one of two causes: a fastener that wasn’t fully tightened, or one leg that’s slightly proud because the joint wasn’t fully pressed together before the fastener was driven. The fix is usually to loosen the relevant fastener, reseat the joint, and retighten. Marine Grade Polymer holds its shape, so the issue is assembly, not the material.
For chairs specifically, verify the seat height matches what you expected. The Hampton Adirondack Chair sits at 16 inches from the floor; the Armless Cafe Chair at 17 inches; the Counter Height Stool at 25 inches. These aren’t adjustable, so if seating comfort was part of your buying decision, now is the moment to confirm the fit works for your table, counter, or bar-height surface before you break down the box.

Outdoor Furniture Assembly for Multiple Pieces: Work in Batches
If you’re assembling several chairs or a full set, build every piece through the same stage before moving to the next stage. Build all leg subassemblies first, then move all pieces to the seat-support stage, and so on. This approach keeps your tool setup consistent, reduces the mental overhead of switching contexts mid-step, and means you’ll catch any pattern of error — say, a systematic misread of a step — on the second piece rather than after the fifth.
Designate a “finished” zone away from your work area so completed pieces aren’t accidentally leaned on or tripped over. For end tables especially, setting them upside-down on their tops until the set is fully assembled protects the leg assemblies from being bumped.
If you’re assembling the Adirondack chairs alongside the end tables, note that the chairs are a more involved build than the tables by virtue of having more components. Sequence chairs first while your attention is fresh, tables second.
Sort Your Packaging Responsibly After You’re Done
Once every piece is standing and checked, you’re left with cardboard, foam, plastic bags, and possibly a polyethylene bag or film. Don’t let this pile sit — it’s easier to sort while you still know what each material is.
Corrugated cardboard is accepted in curbside recycling in most municipalities, but it should be broken down flat and kept dry. Styrofoam and foam inserts are not accepted in most curbside programs; check your local provider for drop-off locations. The EPA’s recycling basics resource explains the general principles behind material sorting and what common programs do and don’t accept — useful if you’re unsure how your region handles mixed packaging materials.
Keep the original box flat and stored somewhere dry for 30 days. Plastic Furniture To Go’s return policy accepts new, unused, unassembled products in original packaging within 30 days of receipt — so if a piece has a confirmed defect or the wrong item was shipped, you’ll want that packaging intact. For the full details on returns and coverage under the 7-year structural warranty and 5-year fade warranty, see the returns and warranty page before you break anything down for recycling.
Frequently Asked Questions
Do I need a power drill, or can I assemble these pieces by hand?
A standard handheld screwdriver is sufficient. A cordless drill with an adjustable clutch saves time and effort, but set the torque low — polymer is forgiving, but it’s possible to overdrive stainless fasteners into it if you’re using an impact driver at full power. If you’re assembling multiple pieces in one session, a drill makes the job noticeably faster.
What if I’m missing a piece of hardware when I open the box?
Stop assembly and document what’s missing before touching the remaining parts. Compare the hardware count to the instruction sheet’s parts list to be specific about what you need. Contact Plastic Furniture To Go through the website with your order number and a description of the missing item. Do not substitute hardware from a local hardware store, as thread specifications and material grade may differ from the included 3/16-inch stainless steel fasteners.
Can I assemble these products alone, or do I need a second person?
Most pieces in the catalog can be managed solo on a flat surface. A second set of hands is helpful for holding a back panel in position while you drive the first fastener, particularly on the Adirondack chair. For the end tables and the Counter Height Stool, solo assembly is straightforward. If you’re working alone, a clamp or a stack of books can act as a third hand when needed.
What should I do if a panel looks slightly warped after assembly?
First confirm all fasteners are fully seated — partial tightening is the most common cause of apparent warping. If the issue persists and a panel appears genuinely deformed rather than misaligned, document it with photos and review the warranty terms. The 7-year structural defect warranty may apply. Full details are on the returns and warranty page.
Ready to get your outdoor space set up? Browse the full lineup of American-made Marine Grade Polymer furniture at the Plastic Furniture To Go shop, and if you have a question about a specific product or your order before you start assembly, contact Plastic Furniture To Go — the team can clarify specs, hardware questions, or anything else you need to assemble with confidence.
You may also find these helpful: Plastic Outdoor Dining Chair Fit-and-Finish Checklist.

